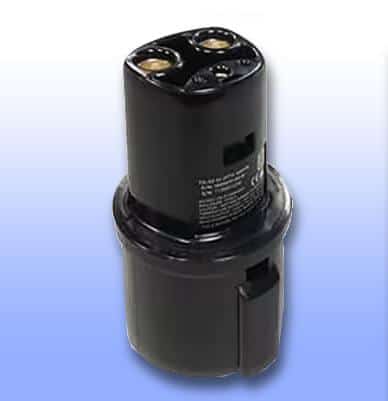
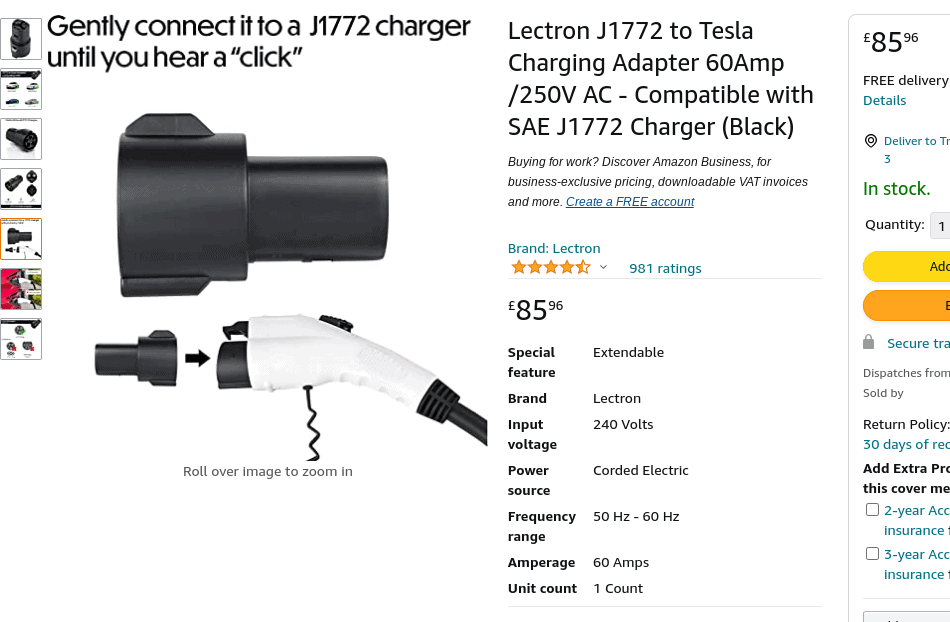
Following the news in July 2022 that Tesla plans to open up its supercharger network (with adapters) for non-Tesla drivers, it seems that the world of electric car charging is finally starting to balance itself out. Up until that point, it was generally the case that Tesla drivers in the US could charge anywhere they wanted, provided they had the J1772 adapter, which has generally been supplied free with any Tesla purchase.
While Tesla owners did enjoy this advantage, not all was rosy for them, as many discovered when they plugged in to charge only to discover that their J1772 adapter had become stuck in the car and they now couldn’t get it out.
Some even tried so hard as to cause physical damage to the charging connector. Why does this even happen? What can Tesla owners do about it? These questions (and more) we will answer in today’s blog.
Why Might the J1772 Adapter Get Stuck While Charging?
Broadly speaking, there are two common explanations as to why the J1772 adapter might get stuck in the port during charging. The first one is to do with heat, the second with safety and security.
Heat
The most common reason for adapters getting stuck is because the heat generated by the charging process causes the plastic to expand, which makes it extremely difficult, and perhaps even impossible to remove, at least for the time-being.
Most Tesla owners will attest to the fact that the charger and port are built in a “close-fit” connection, meaning that there’s not exactly much (if any) wiggle room when you plug in. When you read advice on charging for Tesla owners, one of the most common suggestions offered up to explain why a Tesla isn’t charging is to do with the fact that the connector hasn’t been put into the port all the way. It often takes a bit of brute force to secure a solid connection, and that’s true on a lot of other EVs, too.
When you then factor in the heat, especially when charging at a fast-charging station, it can cause the plastic to naturally expand, which then tightens the grip of the adapter in the port even more. This is not dissimilar to when certain weather warps the wood of your front door or other wooden doors in your home, causing them to seemingly get impossibly stuck.
If you let the adapter cool a little while after charging is done, the plastic will shrink back and you should be able to get the adapter back.
Security
Another possible explanation is that when the car is charging, it employs certain security measures to ensure that people can’t just come along, unplug you, and perhaps even steal your adapter. Let’s say you plug in, then walk away to go and get something to eat while you are waiting. The car will lock itself securely and then that charger will not unplug until it is opened again, and the button on the charger properly pressed to release it.
Some people forget this step. Their Tesla key might be with a partner who is not with them at that moment, and thus the car can’t detect that the owner has returned and will remain secured. It should be noted here that brute force against a jammed adapter, whatever the circumstances, is a terrible idea and will most likely result in damage.
What to Do When the J1772 Adapter is Stuck
If your charging process has finished, then the heat being generated will have already started to dissipate. In this case, leave the adapter for a few additional minutes and then try to remove as normal once again using the release button. If it remains persistently stuck, however, then you can try the following:
Step 1: Enter Your Tesla
The first thing you’ll want to do is try and unlock the car and thus release the security protocols that might be holding your adapter and charging cable in place. Enter your car and then access the central touchscreen display.
Step 2: Press the “Unlock” Button
Press the button marked “Unlock” on the main screen, and it should deactivate any remaining locking and security steps that were taken to ensure the charging adapter and/or cable didn’t become susceptible to theft or vandalism.
Step 3: Release
Go back to the adapter and try to release it as normal. In many cases, this will work, but not always. If you are still struggling to remove the charger, remain calm. Avoid going into “Chewbacca” mode by trying to pull it with sheer force again. In the event that steps 1-3 fail, proceed to step 4.
Step 4: Open the Trunk
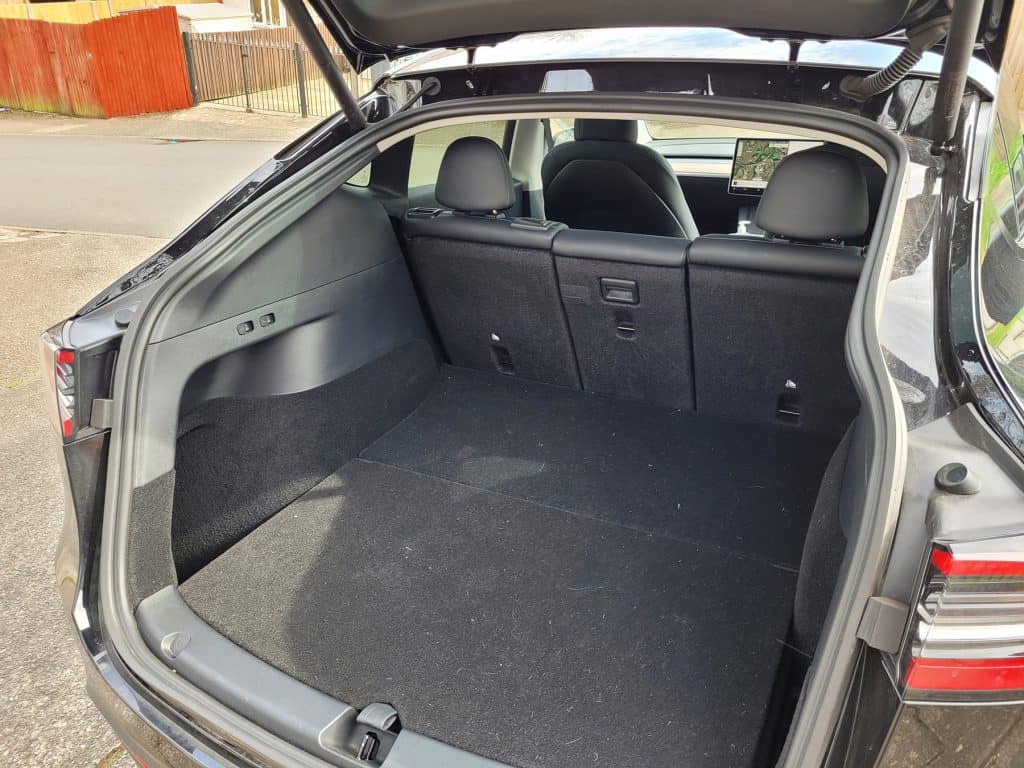
Within the trunk of your Tesla, just behind the charging port, there is an emergency cable release that you might use if and when you find yourself with no other viable options. So, first, go into your Tesla trunk.
Step 5: Find the Cable Release and Pull
When you’ve accessed the trunk, look for a black cable in the area just behind the charging port. All you have to do is find that black cable and give it a gentle pull until you hear a click. Once you hear the click, your charging cable and adapter should be able to release.
Step 6: Release
Check the success of the move by releasing the cable and adapter as normal.
What If None of These Steps Help?
If you’ve tried both of these steps and nothing has worked, then it might be time to call up Tesla customer service and find out what they recommend. Once again, there is no time during this process when you should resort to brute force to try and remove the adapter. You’re far more likely to cause potentially expensive damage if you do!
In addition, you could also try giving it a little bit longer to cool down, depending on how long it was since the charging cycle concluded. It’s quite possible that after everything, the plastic is still expanded and thus just needs a bit more time to cool. Patience is key, here.
Getting a Tesla Home Charging Solution
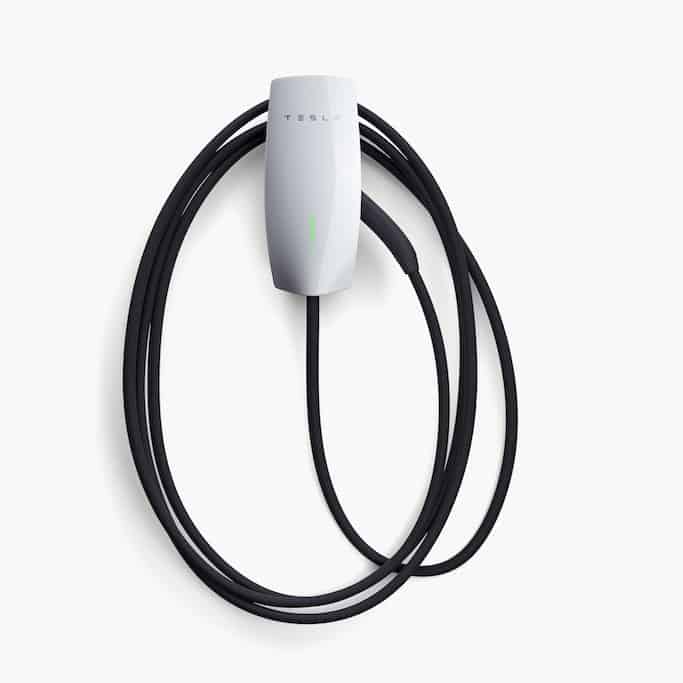
Tesla does manufacture its own level 2 home charging station, the Wall Connector. It costs about $400 from Tesla’s online store, but there may be added costs if you want a longer cable, as well as for installation services.
If you’ve been having problems charging your Tesla at local non-Tesla charging stations, then the ideal solution is to get a home charging station that is made specifically with Tesla cars in mind (though other EVs can connect to the Wall Connector, too).
The other advantage of installing your own home solution is that while there is some up-front cost, the charging cost also goes down because you can exclusively charge your Tesla at off-peak times (e.g., during the night) when electricity rates are at their lowest.
Try Different Charging Locations
If a home charging solution isn’t an option for you — as it isn’t for many — then instead it would be a good idea to find a local charging station at which you don’t experience this. Some people get stuck over and over because they insist on using the same charging point even when alternatives are available. It could be because that charging location is more convenient, or cheaper. If there’s another one nearby in which you don’t get stuck, then we recommend favoring that one.